Monday, 12 June 2017

The Good Shepherd

The Good Shepherd
The Good Shepherd


The Good Shepherd is an excellent story that demonstrates kindness. Jesus looks after his sheep just as he looks after us. 


Objectives: 

The children will be able to:
- retell the story of The Good Shepherd
- identify who is the Good Shepherd
- explain what to do if they lost something
- identify who they are supposed to follow 
  and do what he says
- discuss when kids their age might do to get “lost” and not follow Jesus 

Vocabulary Words: good, shepherd, Jesus, lost, found, sheep, kind

Good Shepherd Word Wall - hang words on the wall to aid children when they are learning or using new vocabulary words.


Introduction to story: Here are questions to open with. Since they might all want to answer at the same time, use a talking stick or a stuffed lamb to pass around to take turns for talking.

Some Questions To Consider:

Think of something you have lost.

Have you ever lost something?

Was it worth very much?

Did you look very hard for it?

Did you ever find it?

What did you do when you found it? 

If you didn’t find it, what did you do?

More Questions To Consider:
Have you ever been lost? How did you feel? How did you get back? How did you feel when you were found?
Have you ever helped someone look for something they lost?
Have you ever found something someone else lost?

What did you do with the item you found?

Follow Up:

Read the story "The Good Shepherd". 

Ask questions such as the following . . .

If a shepherd has lost one of his sheep, what should he/she do? 


Who is the Good Shepherd?

Crafts:

Young children can make a handprint of a lamb.

Another good extension to this lesson is Sheep Decoration 
These are very easy crafts that the youngest child can do and makes a beautiful keepsake.


Thursday, 1 June 2017

Sheep Decoration

Christmas, Sheep Decoration

Christmas, Sheep Decoration

Tree Ornaments

Suitable for Kindergarten to Third Grade

- ornaments that can be on a 
  Christmas tree or used as a decoration
- can also be made when reading or 
  discussing 
  The Good Shepherd (Language, Christian activity)

Materials

- black felt, white felt or a wool type of material
- googly eyes
- ribbon or yarn
- good quality scissors for older children
- white glue
- optional - twine or chenille stem if desired

Construction
- materials should be prepared ahead of time
- cut felt or material into sections if the children are able to 
  cut their own shapes
- it is recommended that they cut their parts in shapes (almost anything can be created 
  using shapes - circular shape for the body, oval for the head, triangular shapes for the 
  ears, thin rectangles for the legs)
- these shapes can be cut ahead of time for young children and for any children with 
  difficulty using scissors
- distribute all the necessary materials
- assemble the shapes to make the sheep
- a shepherd's hook made out of twine or a chenille stem may be included if desired
- attach a loop made out of ribbon or yarn to the back of the sheep


Easter Art

Easter Art

Easter Art

Suitable for Kindergarten to Third Grade

- this art can be varied to suit the age/needs of
  the children
- vary the expectations depending on the
  age/ability of the children
- the rays of sunshine can be used by older
  children and younger children can leave them
  off
- let them decide if they want them on or off
- encourage them to make their own decisions
  regarding the placement and size of the hills
  and crosses
- if using a paper foreground, older
  children may be able to cut out their own
  pieces while young children may need the
  some of the shapes supplied to them (strips of yellow
  for the rays and a variety of black strips to
  make the crosses) and it can be divided into random parts)

Materials
- white art paper or card stock
- watercolor paint - soft colors are very effective - a variety of colors may be used or one color with
  a variety of shades to create the sky, sunrise, sunset
- green watercolor paint
- black watercolor paint
- wide and thin paintbrushes
- optional - green, black, yellow construction paper
- newsprint or some other material to protect the work surface
- alternative materials - cardboard in desired shapes, plasticine, instruments to provide texture to the
  plasticine (toothpicks, combs etc.)

Construction
- begin by protecting the work surface with newsprint or plastic cloths
- distribute the art paper or card stock and the paint (a variety of colors may be used or one color
  with a variety of shades to create the sky, sunrise, sunset)
- use horizontal brush strokes (making each stroke go past the entire paper onto the protective
  surface) to paint the background
- set the paper aside to dry
- after the background has dried, the foreground may be painted or be made out of construction paper
- an alternative for the grassy hills is to use small bits of green paper or fringed paper to create a
  grassy effect
- this scene is also very effective using a cardboard background covered with plasticine - fine
  instruments are perfect to create texture

Birth Of Jesus Silhouette

Birth Of Jesus Silhouette

Birth Of Jesus Silhouette

Suitable for Kindergarten to Third Grade


- this art can be modified to suit the 
  age/needs of the children
- the shapes for the silhouettes can be 
  drawn and cut out by older children
- the shapes can be cut out and supplied 
  to younger children
- the color of the shapes can be chosen 
  by the children and placed against a 
  background of contrasting color
- more detail can be added depending on 
  the age and ability of the child (example; 
  a star, sheep, the outline of the stable)

Materials
- construction paper for the shapes
- construction paper for the background
- optional - tracers of the desired shapes
- scissors
- glue

Construction
- shapes for the silhouettes to be distributed or created (tracers could also be beneficial)
- once the shapes are ready, glue onto a paper of a contrasting color
- this could also be created as a Christmas card on card stock 

Collage Cross

Collage Cross

Collage Cross

Suitable for Kindergarten to Third Grade

- this art can be varied to suit the age/needs of the children
- vary the expectations depending on the age/ability of the
  children
- these crosses look very attractive no matter what material
  are used to create the collage

Materials
- construction paper (black or white is affective)
- white glue or glue sticks, depending on the material used to
  create the collage
- materials to make the collage (example; sequins of assorted
  shapes or of similar shapes, buttons, crumpled up tissue
  paper squares, things found in nature such as tiny pebbles or
  pieces of bark, paper shapes such as small squares or
  triangles - use your imagination)

Construction
- older children can cut out their own crosses (two rectangles can be used by gluing the shorter one
  across the longer one) or crosses can be cut out ahead of time and distributed
- use glue to stick the collage materials, beginning at the top of the cross
- a small space should be left between each item being glued on
- display these beautiful and unique crosses 

"Stained Glass" Cross

"Stained Glass" Cross

"Stained Glass" Cross

Suitable for Kindergarten to Third Grade

- this art can be varied to suit the age/needs of the children
- vary the expectations depending on the age/ability of the
  children
- these crosses look very attractive in windows, allowing the
  light to bring out the beautiful colors
- this compliments Paper "Stained Glass" Art (Christian activity)

Materials
- tissue paper that can be cut into shapes of various sizes or
  torn into small pieces (make a variety of colors available)
- waxed paper
- watered down glue
- brushes for gluing
- thick permanent black magic markers or thin strips of black
  construction paper
- paper or a cloth to protect the work surface

Construction
- prepare small containers of the glue mixture (approximately1:1 ratio of white glue and water)
- distribute the waxed paper (in the shape of crosses) to be used as the surface for the tissue paper to
  be glued to
- if paper/cloth is being used to protect the tables/desks, be sure to remove the art immediately
  upon completion to avoid the art being permanently stuck to the paper/cloth
- use the brush to put the water/glue mixture on the waxed paper, beginning at the top of the cross
- place a piece of tissue paper at the top of the cross and use the brush to gently brush on a light coat
  of the glue mixture
- continue to put one piece of tissue paper at a time overlapping the pieces slightly each time and
  remembering to brush with the mixture each time
- after the cross is completely dry, the excess tissue paper poking out past the edges of the cross
  needs to be trimmed
- place tissue paper side up and use a thick, permanent black magic marker to make the black lines
- another way to create the black lines is to use precut thin black paper
- put a layer of the watery glue mixture over the completed cross and place the thin black strips
  randomly on top of the cross to make a "stained glass" effect
- hang in a window and enjoy the beautiful cross

Holy Week Art

Holy Week Art

Holy Week Art

Suitable for Kindergarten to Third Grade

- this art can be varied to suit the age/needs of
  the children
- vary the expectations depending on the
  age/ability of the children
- the rays of sunshine can be used by older
  children and younger children can leave them
  off
- let them decide if they want them on or off
- encourage them to make their own decisions
  regarding the placement and size of the hills
  and crosses
- if using a paper foreground, older
  children may be able to cut out their own
  pieces while young children may need the
  some of the shapes supplied to them (strips of yellow
  for the rays and a variety of black strips to
  make the crosses) and it can be divided into random parts)

Materials
- white art paper or card stock
- watercolor paint - colors can be chosen by the students
- black construction paper
- glue
- paintbrushes
- newsprint or some other material to protect the work surface

Construction
- begin by protecting the work surface with newsprint or plastic cloths
- distribute the art paper or card stock and the paint (colors they have chosen)
-paint can be watered down a little so it can run together to create an effective background
- an array of brush strokes can be made to create the desired effect (making sure that the color
  reaches and can go past the edge of the paper just to be sure of complete coverage)
- have the children cut out their crosses ( a simple way is to cut out a thin rectangle and cut it part
  way down so that one part is shorter than the other)
- emphasize that the part that is goes horizontally should be glued on higher than the middle (you can
  demonstrate this by having them stand up with their arms stretched out to each side. They will see
  that their arm are raised up higher than their waists or the middle part of their bodies)
- after the background has dried, the foreground of construction paper crosses will be glued on
- if desired, black construction paper can also be glued along the bottom of the picture

Wednesday, 31 May 2017

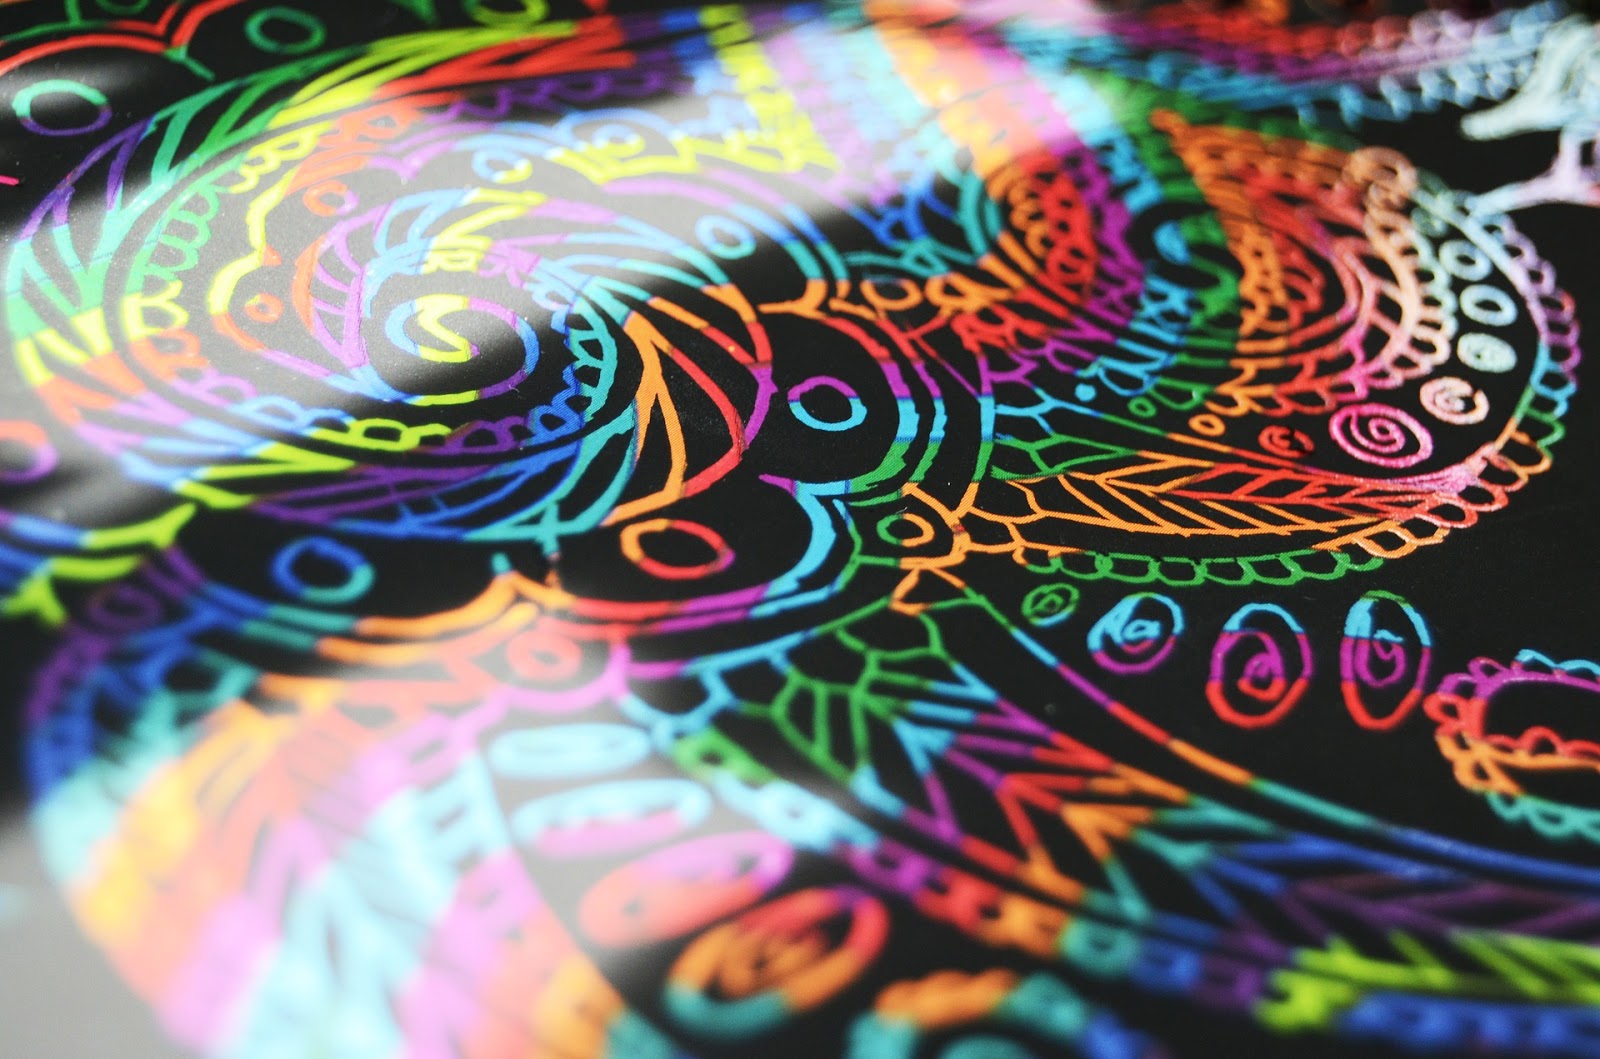
Crayon Resist, Design

Crayon Resist Design

Crayon Resist, Design

Suitable for Kindergarten to Third Grade

- students will create a beautiful design 
  consisting of vibrant colors and
  contrasted with black paint
- crayon/oil pastel splashes of color are 
  made on art paper
- it is followed up with a wash of black 
  watercolor paint to create a contrast
  of color and art mediums  
  
Materials
- crayons or oil pastels
- black watercolor paint 
- paint brushes
- white art paper

Procedure
- using crayons or oil pastels make designs on art paper
- emphasize the need to press heavily in order to create the most vivid contrast of colors 
  and the colors will show through the black paint
- also demonstrate that there needs to be spaces of white left on the paper so that the black 
  paint adheres to the paper
- continue to change colors and textures until the page is filled with designs
- cover work surfaces with newsprint or plastic cloths
- check to see if the paint is too thick on a sample page of random crayon, oil pastel 
  designs (you may need to water the paint down a little to achieve the right consistency) 
- brush the black watercolor paint on the paper using horizontal strokes, allowing each 
  stroke to go off the page (this will make sure that the entire surface is covered and no 
  white spots remain)
- this art lesson can be modified for young children by having them draw or even scribble 
  random colors on the paper, being sure that they press heavily and use an array of colors

Another great crayon resist activity can be found at  Crayon Resist Collage

Handmade Musical Instruments

Handmade Musical Instruments


Suitable for Kindergarten to Third Grade

- almost anything that makes some sort of noise can be used 
  as a musical instrument
- one specific instrument can be made at a time or supplies 
  can be made available allowing the children to be more 
  creative
- use the instruments for performances 

Materials
- elastics
- sticks
- plastic tubs with lids
- shaker materials (paper towel rolls, things that will make a 
  noise such as rice, beans or  beads)
- shakers or maracas can also be made using paper-mache
- have a variety of recyclable materials available (boxes, 
  paper towel rolls, bottles)
- instructions for specific instruments can be found under 
  Drums, Stringed Instruments, Maracas

Follow-Up

- provide opportunities for the children to play their instruments in the classroom setting or 
  at an assembly
- they could also be used at an assembly
- use technology to let them perform (older children can produce and star in a musical 
  video)
- younger children can record each other 
- branch out and have them compose their own songs, perform, create a band with 
  a name etc.
How do the instruments sound? Do some comparing with help at Comparing Musical Instruments


Seasons

Signs Of Spring

Seasons


Suitable for Kindergarten to Third Grade

- compare two seasons through the
  use of a Venn Diagram
- the Venn Diagram can be 
  modified depending on the age/ability of 
  the children


Activity

- a brainstorming session is an effective 
  way to begin this activity 
- using chart paper, have the students 
  think of characteristics for the two seasons being compared
- older children may only need a couple 
  ideas and then they can independently 
  complete their comparisons
- younger children can use two hula 
  hoops to organize each point 
- teach how Venn Diagram show how (in 
  this case) two things are different in the 
  two separate circles and how they are 
  the same where the two circles overlap


Follow-Up

- use picture cues to go with each season
  for pre-readers (this is great for small 
  groups)
- technology can be used to complete the Venn Diagram (the app/program will need to be 
  accessible and understood)

Symmetry


Symmetry

Symmetry

Suitable for Kindergarten to Third Grade

- this art provides instant satisfaction
- paint is only applied to half of a paper
- once the paper is folded over, the wet paint
  spreads to the other half creating symmetry
- this activity demonstrates the concept of
  symmetry and allows the children to see the
  effect immediately
- the blending of paint is very appealing and 
  provides a burst of color to bulletin boards or
  when suspended from the ceiling
- each butterfly is unique


Materials
- white art paper or card stock
- watercolor paint - colors can be chosen by the students
- paintbrushes
- scissors
- chenille stems (optional for antennae)
- glue
- newsprint or some other material to protect the work surface

Construction
- begin by protecting the work surface with newsprint or plastic cloths
- distribute the art paper or card stock (rectangular) and the paint (colors they have chosen)
- have the children fold the paper in half vertically
- it is recommended that the paint be applied fairly thick (each color does not have to touch each
  other or provide complete coverage)
- once folded over, the paint spreads out, runs together and creates a mirror image on the other half
  of the paper
- once folded, gently pat the paper down so that the paint adheres to the blank half
- open up the paper to admire the colors and design
- talk about the symmetry and observe the mirror image that has been created
- emphasize that the part that is goes horizontally should be glued on higher than the middle (you can
  demonstrate this by having them stand up with their arms stretched out to each side. They will see
  that their arm are raised up higher than their waists or the middle part of their bodies)
- set aside to dry
- fold the paper again along the same fold line
- draw a butterfly wing on the side that is not painted, making sure that the middle part is connected
  to the fold
- cut along the line making sure that part of the fold line stays intact
- if desired, black chenille stems can be formed into antennae and taped to the back

Students will gain an appreciation and understanding of the butterfly at the following link.
Life Cycle Of The Butterfly

Squirrel Art

Squirrel Art

Squirrel Art

Suitable for Kindergarten to Third Grade


- tracers can be made as shown
- students use the tracers to make the parts of 
   the squirrel 
- the tail can be placed strategically on   
  the squirrel's body to make it either look like 
  it is sitting up or running
- tissue paper makes the tail look bushy  


Materials

- 2 tracers - one body part and one tail  
  (multiple tracers will be needed according to 
  class size)
- glue
- brown, grey and black construction paper (students can choose what color they want 
  their squirrel to be)
- tissue paper cut up in squares (approximately one inch square) in colors to match the 
  body parts
- the squirrel parts could be cut out for Kindergarten children and children without the 
  tracing and cutting skills

Construction
- trace and cut out the two squirrel parts (have the squirrel's tail line up line up with the 
  body to give either the sitting or running effect)
- glue the tail onto the front of the squirrel's body
- apply glue to a small part of the tail, starting at one end
- starting at the edge at the end with the glue, begin placing tissue paper onto the glue
- place your finger in the middle of the square, pull the tissue paper up to wrap around your 
  finger
- keeping your finger in the tissue paper, stick the paper on the glued surface
- helpful hints - try not to get glue on fingers or the tissue paper starts sticking to fingers and 
  place tissue paper close together, leaving no spaces for a really bushy effect
- younger children can loosely crumple up the tissue paper and stick it on the gllue
- finish off with a little eye made out of construction paper

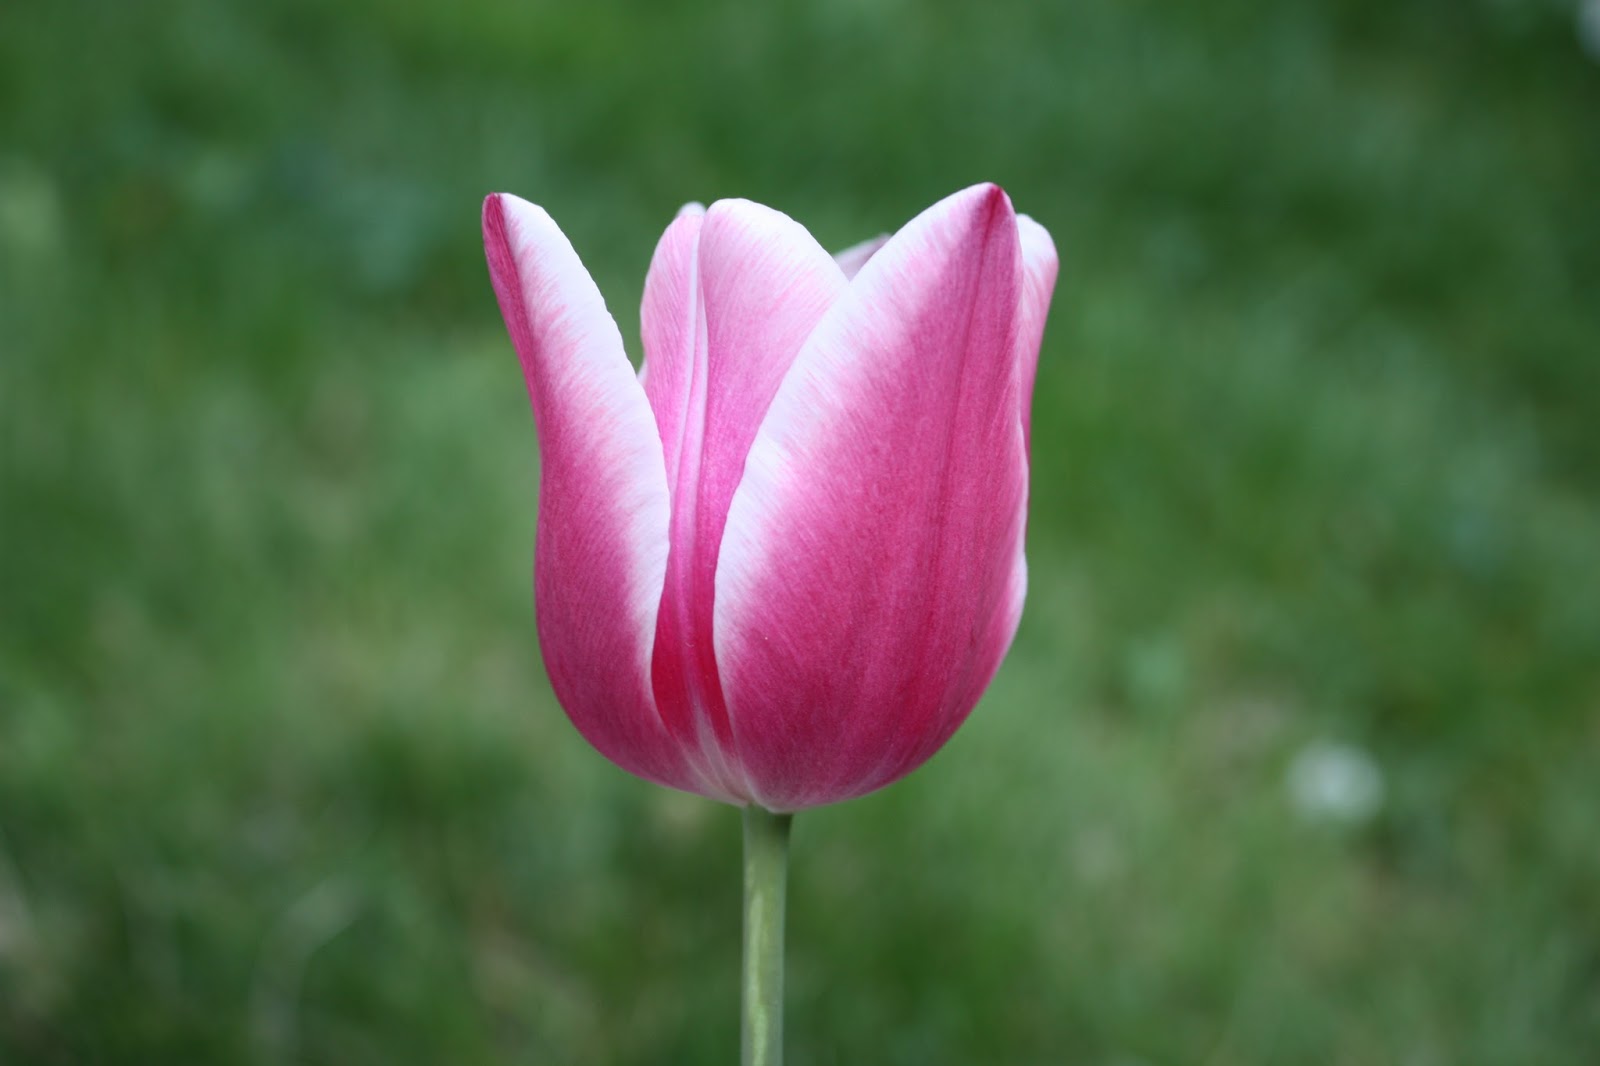
Paper Tulips

Paper Tulips

Paper Tulips

Suitable for Kindergarten to Third Grade


- three dimensional, bursts of color make 
  these tulips very attractive
- this activity compliments the art activity 
  called "Paper Daffodils" 
- looks amazing when putting a class set 
  together to make a spring garden on a 
  bulletin board along with the daffodils
- very effective results for all ages 
  and abilities
- tracers are used for the flower part
- other suggestions - see bottom of page 
  for ideas for younger children 

Materials
- construction paper (red, yellow, purple,mauve, orange, pink for the flowers) 
- green construction paper for the stems and leaves
- construction paper should be cut into squares, large enough to trace the tulip shape on
- tracers, as shown - prepared ahead of time
- scissors
- glue sticks

Construction
children choose four squares of their own color choices ( they are effective in all one color, 
  four different colors, and as a pattern - example, red, orange, red, orange)
- the tracer needs to be traced on the four squares and then cut out as carefully as possible
- each tulip shape is then folded in half (they will look like half a tulip shape)
- the half shapes are then stacked on top of each other to see how they fit together 
- you will notice that the folded edges are all lined up together - that is how they will be 
  glued together (each half side will be glued to the next half side - it is complicated until you 
  actually see the pieces and how they fit together)
- use half a sheet of green construction paper to cut out the stem first (this is easily done by 
  cutting a strip off the side or by using a ruler to draw a line close to the edge of the paper 
  and then cutting along the line
- fold the leftover green paper in half lengthwise and draw a long leaf 
- cut along the line while the paper is folded to produce two leaves
- glue the stem to the back of the flower
- glue the leaves to the bottom of the stem, having the leaves face up as though reaching 
  for the sunlight
- invite children who finish ahead of time to make additional flowers to add to the garden 
  and to help their friends
- very young children need some of these steps to be modified - parts of the flower can be 
  cut out ahead of time, older buddies can help them
- to encourage more independence, they can use only one tulip shape and glue tissue 
  paper squares (crumpled up) to the tulip shape