 |
| Paper Tulips |
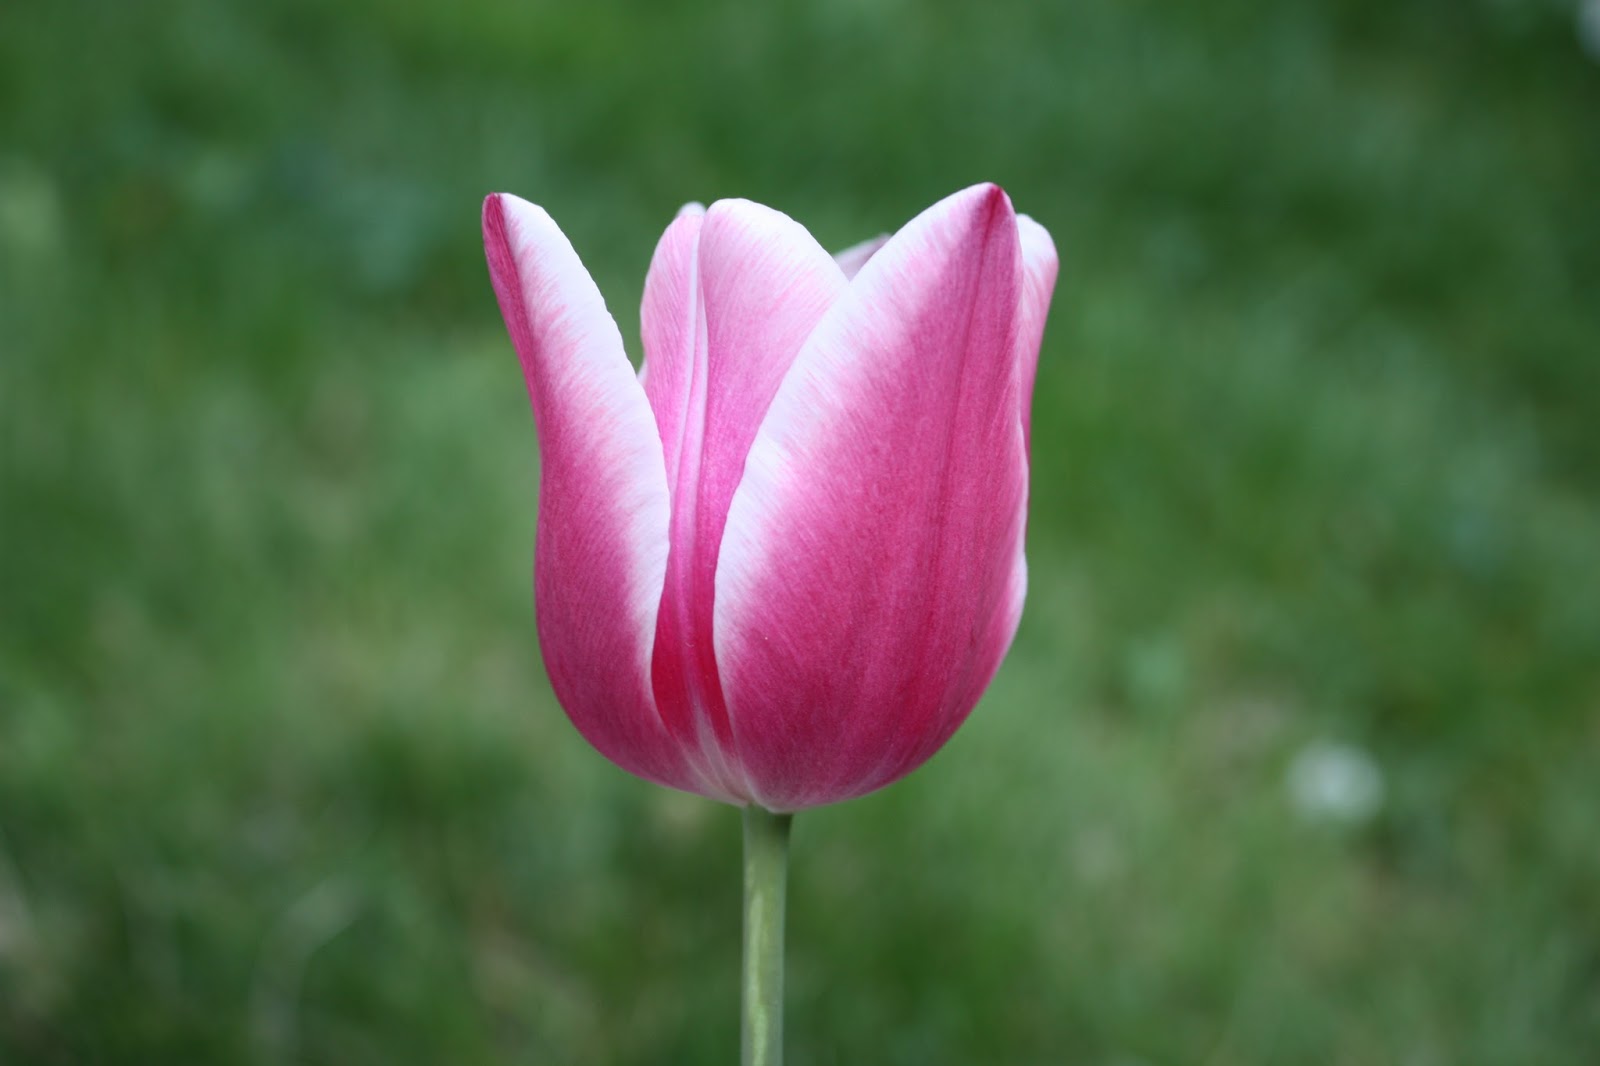
Paper Tulips
Suitable for Kindergarten to Third Grade
- three dimensional, bursts of color make
these tulips very attractive
- this activity compliments the art activity
called "Paper Daffodils"
- looks amazing when putting a class set
together to make a spring garden on a
bulletin board along with the daffodils
- very effective results for all ages
and abilities
- tracers are used for the flower part
- other suggestions - see bottom of page
for ideas for younger children
Materials
- construction paper (red, yellow, purple,mauve, orange, pink for the flowers)
- green construction paper for the stems and leaves
- construction paper should be cut into squares, large enough to trace the tulip shape on
- tracers, as shown - prepared ahead of time
- scissors
- glue sticks
Construction
- children choose four squares of their own color choices ( they are effective in all one color,
four different colors, and as a pattern - example, red, orange, red, orange)
- the tracer needs to be traced on the four squares and then cut out as carefully as possible
- each tulip shape is then folded in half (they will look like half a tulip shape)
- the half shapes are then stacked on top of each other to see how they fit together
- you will notice that the folded edges are all lined up together - that is how they will be
glued together (each half side will be glued to the next half side - it is complicated until you
actually see the pieces and how they fit together)
- use half a sheet of green construction paper to cut out the stem first (this is easily done by
cutting a strip off the side or by using a ruler to draw a line close to the edge of the paper
and then cutting along the line
- fold the leftover green paper in half lengthwise and draw a long leaf
- cut along the line while the paper is folded to produce two leaves
- glue the stem to the back of the flower
- glue the leaves to the bottom of the stem, having the leaves face up as though reaching
for the sunlight
- invite children who finish ahead of time to make additional flowers to add to the garden
and to help their friends
- very young children need some of these steps to be modified - parts of the flower can be
cut out ahead of time, older buddies can help them
- to encourage more independence, they can use only one tulip shape and glue tissue
paper squares (crumpled up) to the tulip shape
No comments:
Post a Comment